| Disclosure: Just to be open and honest the buttons and links you click on in the website will in most cases take you to another website where you can purchase the products I am reviewing. As an Amazon Associate I earn from qualifying purchases. |
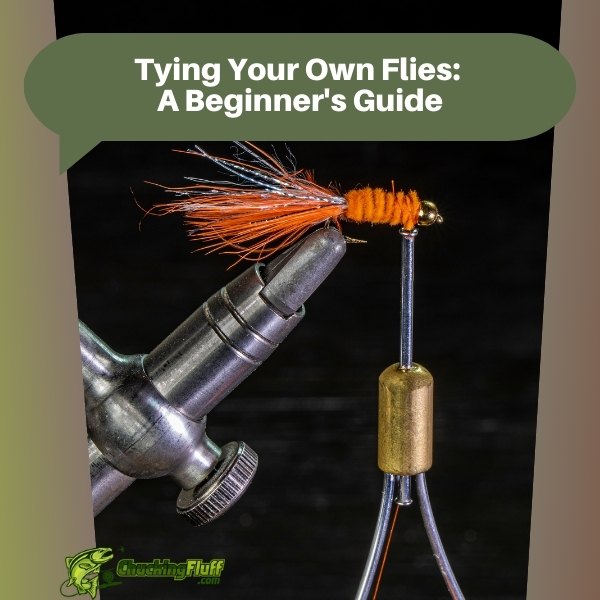
Tying Your Own Flies: A Comprehensive Beginner’s Guide
If you’re new to fly fishing, you’ve probably marveled at the delicate, almost art-like lures called “flies.” These aren’t your typical store-bought lures. They’re handmade, often by the anglers themselves, tailored to mimic the insects that fish crave. But tying your own flies can feel intimidating, right? Fear not—this guide is here to simplify the process for you. By the end of this article, you’ll have a solid understanding of what fly tying entails, the tools you need, and even how to tie your first fly!
Quick Post Navigation
Why Tie Your Own Flies?
Tying your own flies isn’t just another hobby. It’s an extension of your love for fishing and a way to personalize your experience. Picture yourself out on a serene river, casting a fly that you’ve painstakingly crafted. It’s not just about the catch—it’s about the satisfaction of knowing you did it all yourself. So, why should you start tying your own flies?
The Benefits of Fly Tying
There are a few key benefits to tying your own flies:
- Cost Savings: Fly fishing can get expensive fast. Buying pre-made flies for every fishing trip can add up. But when you tie your own, the cost per fly drops significantly.
- Customization: You get to choose everything—the color, size, and pattern. This means you can create flies that cater to the specific fish in your favorite spots.
- Skill Building: Tying flies sharpens your attention to detail and hones your dexterity.
- Therapeutic Relaxation: There’s something inherently calming about sitting down with a vise and some feathers, focusing entirely on creating something beautiful and functional.
Building a Personal Connection with Fishing
Imagine this: You’re standing knee-deep in a cold, clear stream. You tie on a fly you made yourself, cast it out, and then—bam! A fish takes the bait. That feeling of connection, of being so intimately involved in the entire process, is something store-bought flies just can’t replicate.
Getting Started: Essential Fly Tying Gear
Before diving headfirst into tying, you’ll need to gather some tools and materials. You don’t need to splurge on the most expensive items—good-quality beginner gear will do the trick!
Tools You Need for Fly Tying
- Vise: This is the centerpiece of your fly-tying setup. It holds the hook in place while you work.
- Bobbin Holder: Keeps tension on the thread, making it easier to wrap and control.
- Scissors: A pair of sharp, fine-tipped scissors will allow you to cut thread and other materials precisely.
- Hackle Pliers: These hold delicate materials like feathers, making them easier to wrap around the hook.
- Whip Finisher: A tool used to tie knots in your thread, securing your work.
Materials Required for Fly Tying
- Hooks: Choose the size based on the fly pattern and the fish you’re targeting.
- Thread: A variety of colors in both silk and synthetic threads will be helpful.
- Feathers: Hackle, marabou, and other feathers for different textures and appearances.
- Synthetic Fibers: Flash and yarn can add sparkle and bulk to your flies.
Understanding Fly Patterns
Fly tying isn’t just about making something that looks cool. Each fly has a specific purpose and is designed to imitate something that fish naturally eat. There are four primary categories you should know about: dry flies, wet flies, nymphs, and streamers.
Dry Flies, Wet Flies, Nymphs, and Streamers
- Dry Flies: Designed to float on the surface, mimicking adult insects.
- Wet Flies: Sink just below the surface and resemble drowned insects or other aquatic organisms.
- Nymphs: Imitate the immature stage of insects, typically fished below the surface.
- Streamers: Mimic small baitfish, leeches, or other swimming prey.
Each type has its own purpose, and knowing when to use which will make you a more effective angler.
Popular Beginner Fly Patterns
To get started, focus on a few tried-and-true patterns. These are beginner-friendly and versatile, so you can use them in various fishing conditions.
Woolly Bugger
This is a staple fly for beginners. It’s relatively easy to tie, and it works in almost any fishing scenario. The Woolly Bugger mimics everything from small fish to large insects, making it an excellent choice for trout, bass, and even saltwater fish.
Pheasant Tail Nymph
A classic pattern that mimics a wide variety of nymphs. It’s a simple design but highly effective, especially in rivers with heavy insect populations.
Elk Hair Caddis
This dry fly is perfect for summer fishing when caddisflies are abundant. It’s buoyant and can withstand rough waters.
Step-by-Step: Tying Your First Fly
Now comes the fun part—tying your first fly! We’ll walk you through the steps of making a Woolly Bugger, a pattern that’s versatile and straightforward.
Choosing Your Fly Pattern
Before starting, decide which fly pattern you want to tie. For this guide, we’ll focus on the Woolly Bugger because of its simplicity and effectiveness.
Step-by-Step Guide to Tying a Woolly Bugger
- Secure the Hook in the Vise: Position the hook in the vise and make sure it’s locked in tight.
- Start the Thread Base: Wrap the thread around the hook shank to create a base layer.
- Tie in the Tail: Use marabou feathers for the tail. Secure them at the bend of the hook.
- Add the Body Material: Use chenille or dubbing for the body, wrapping it evenly along the hook shank.
- Wrap the Hackle: Use a feather for the hackle and wrap it around the body material to add texture and movement.
- Finish with a Whip Knot: Secure the thread with a whip knot and trim off the excess.
With practice, this process will become second nature, and you’ll be creating flies that are not only functional but also beautiful!
Troubleshooting Common Fly Tying Problems
Like any skill, fly tying comes with its own set of challenges. Here are some common issues and how to fix them:
Preventing Thread Breakage
Thread breakage can be frustrating. The trick is to maintain even tension. Use a bobbin holder to control the thread and avoid pulling too hard.
Managing Proportions and Symmetry
A fly that’s too bulky or unbalanced won’t perform well. Keep materials sparse and make small adjustments as you go.
Securing Materials Effectively
Ensure materials are tightly secured to the hook. Use small, firm wraps, and don’t be afraid to undo and redo a step if it doesn’t look right.
Tips for Improving Your Fly Tying Skills
Even if you’re a total newbie, you can quickly get better at fly tying with these tips.
Practice with Purpose
Instead of tying the same fly over and over, set specific goals for each session. Maybe one day you focus on thread control, and the next, on material placement.
Watch and Learn from Experts
YouTube is a goldmine for fly tying tutorials. Watching experts can show you new techniques and give you ideas for your own flies.
Keep Experimenting with Different Patterns
Don’t limit yourself to just a few patterns. Experimenting will teach you more about material handling and tying techniques.
Organizing Your Fly Tying Workspace
A cluttered workspace can hamper your creativity and productivity. Keep your tools and materials organized to make the most out of your fly tying sessions.
Setting Up a Functional Workspace
Ensure you have good lighting and a comfortable chair. Arrange tools within arm’s reach and invest in a desk organizer.
Storing Materials and Flies
Store materials in labeled containers, and keep your finished flies in a dedicated fly box.
Final Thoughts on Fly Tying for Beginners
Getting started with fly tying can seem overwhelming, but with the right guidance, it’s a skill anyone can master. From choosing the right tools to tying your first pattern, every step brings you closer to creating flies that can land you the catch of a lifetime. Keep practicing, stay patient, and most importantly, have fun with it!
FAQs
Q1: Do I need a lot of expensive equipment to start fly tying?
No, you don’t! While you do need some basic tools, you don’t have to buy top-of-the-line equipment. A beginner’s fly tying kit will cover most of your needs.
Q2: What’s the easiest fly to tie for beginners?
The Woolly Bugger is a great place to start. It’s simple to tie, versatile, and highly effective in a variety of fishing situations.
Q3: How long does it take to get good at fly tying?
It varies from person to person, but with consistent practice, you’ll see improvements within a few weeks. It’s all about building muscle memory and understanding the materials.
Q4: Can I tie flies without a vise?
Technically, yes, but it’s not recommended. A vise holds the hook securely, making the process much easier and more precise.
Q5: How can I learn more advanced fly tying techniques?
Online tutorials, books, and joining a local fly-tying club are great ways to learn. Don’t be afraid to reach out to experienced tiers for advice and mentorship.
How to Trout Fish with a Fly Rod, the Basics!
Fly Fishing Kits for Beginners